How to build a Telegram chatbot
In this guide we’re going to create a Telegram ChatBot that can identify different types of fish. The whole tutorial should take 10-15 minutes and will walk you through setting up the project, connecting Telegram, and deployment.
Project Setup
1. Run the Getting Started Script
Our setup wizard guides you through getting started, run it and follow along with the next steps, entering the values when prompted. If you don’t have access to StartKit yet, you need to purchase it!
npm create startkit.ai@latest2. Get your OpenAI API Key
To get an OpenAI API Key sign up for an account on the OpenAI website, and then navigate to the API Keys page and click Create new secret key.
Then enter the key into the setup wizard:
OPENAI_KEY=You can select Open for the type of app we’re creating:
What kind of app are you going to create? (You can change this later) (Users) I will have users who sign in and access the API (Admin) I want to make secure requests to the API myself❯ (Open) I want anyone to be able to make requests to the API for free3. Create your bot on Telegram
- Open Telegram (you can install it here) and search for BotFather
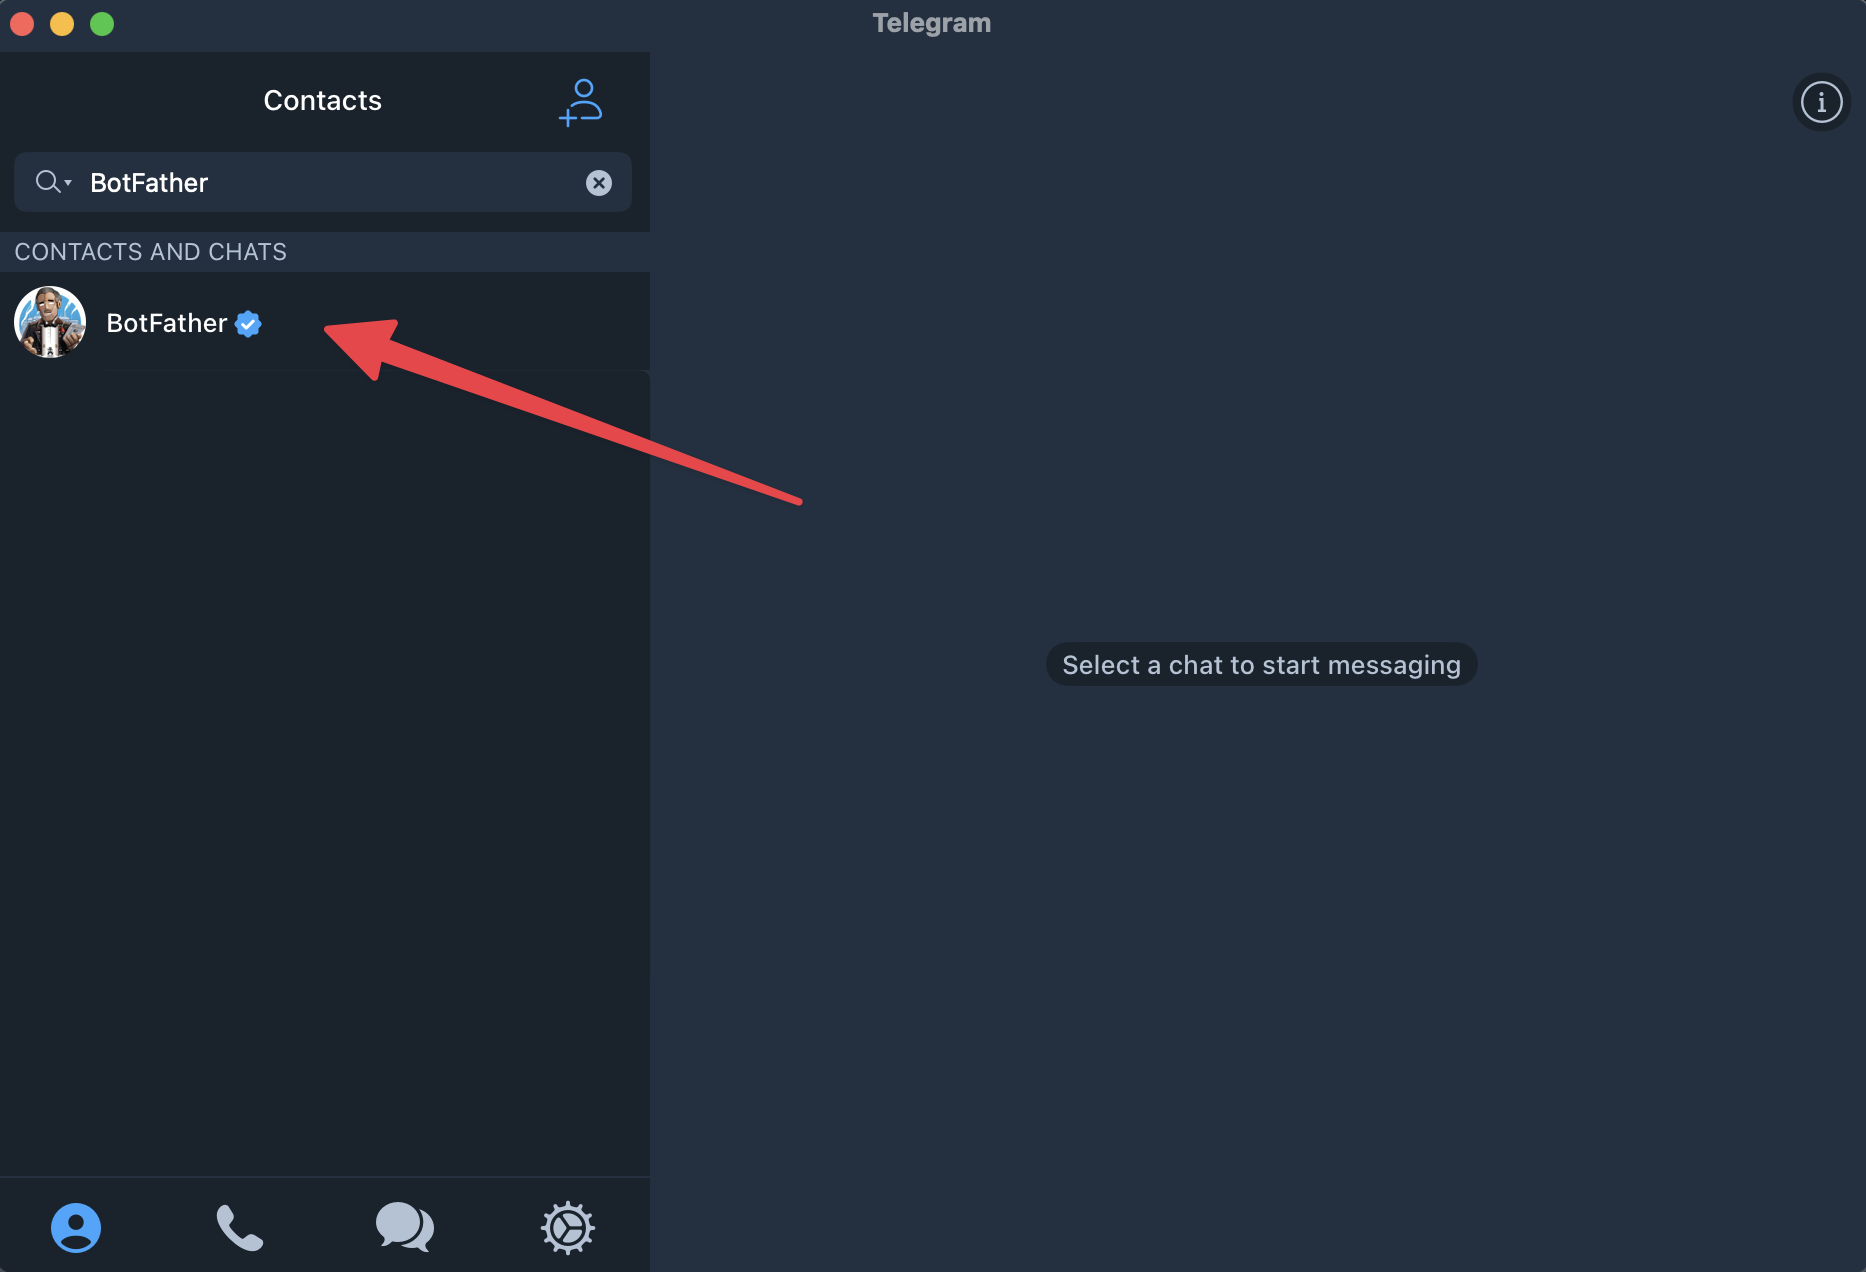
- Run the
/newbotcommand and follow the instructions to create a new bot
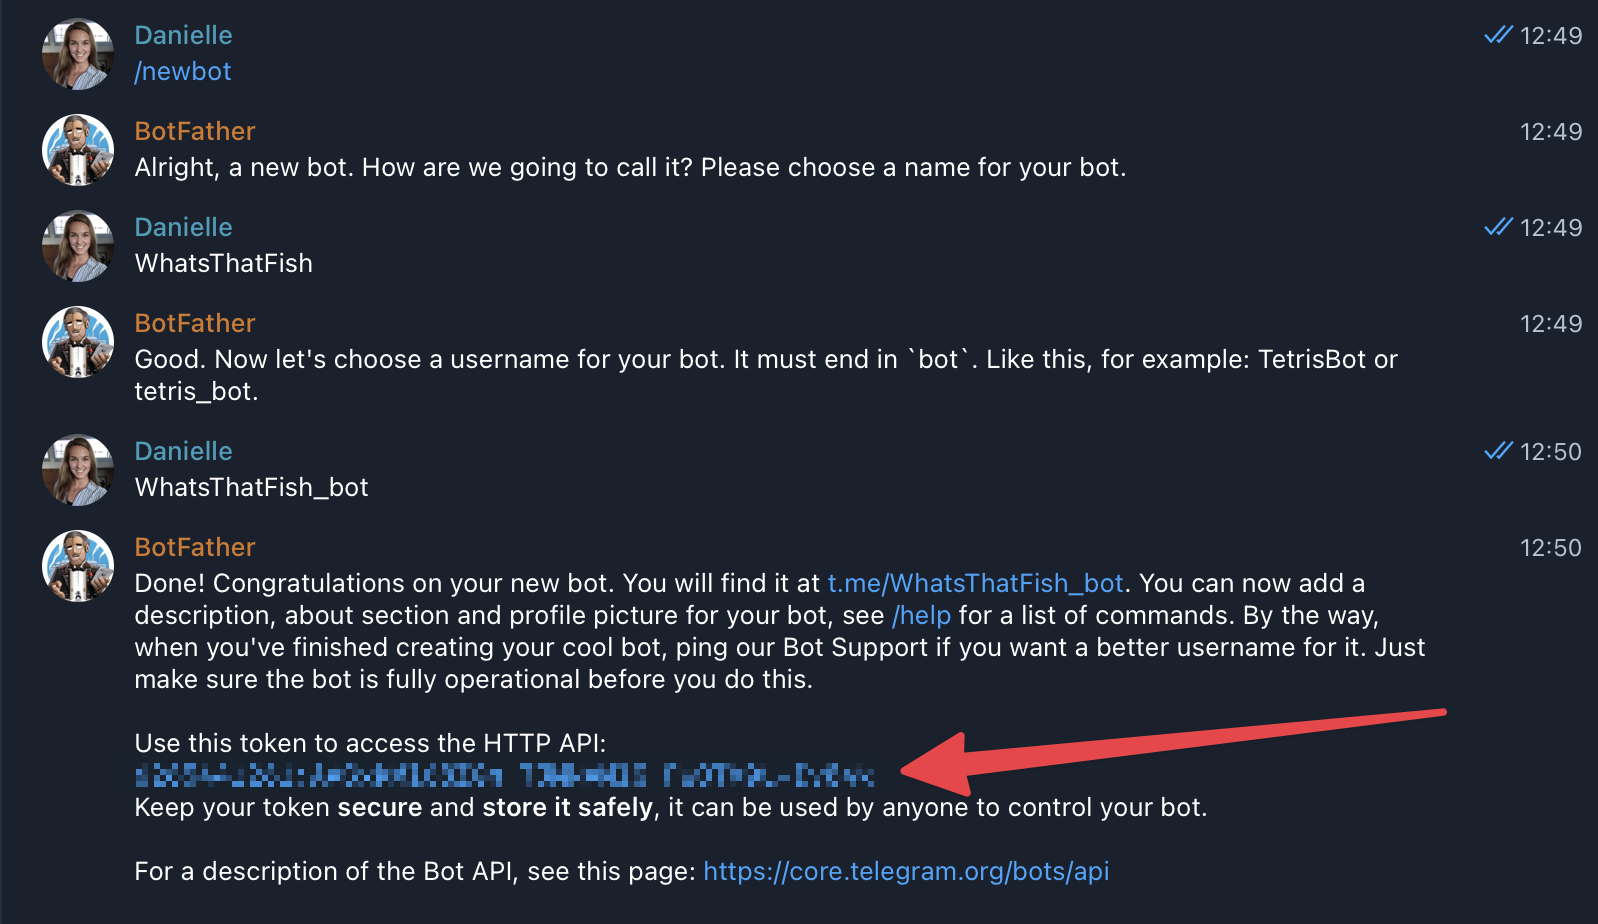
- Add the token to the
.envfile in a new variable calledTELEGRAM_TOKEN
##################################################### Telegram####################################################TELEGRAM_TOKEN=Write the code
- Install the Node Telegram Bot API
# install with yarnyarn add node-telegram-bot-api# or install with npmnpm i node-telegram-bot-api- Create a new file in
/server, call it something likebot.js
Directoryserver
- bot.js
- …
- index.js
- Paste this:
import 'dotenv/config.js';
import Koa from 'koa';import TelegramBot from 'node-telegram-bot-api';import { identifyImage } from '#api/modules/images/identify.js';
const bot = new TelegramBot(process.env.TELEGRAM_TOKEN, { polling: true });
bot.on('message', async (msg) => { const { text, photo, chat } = msg; const { id: chatId } = chat;
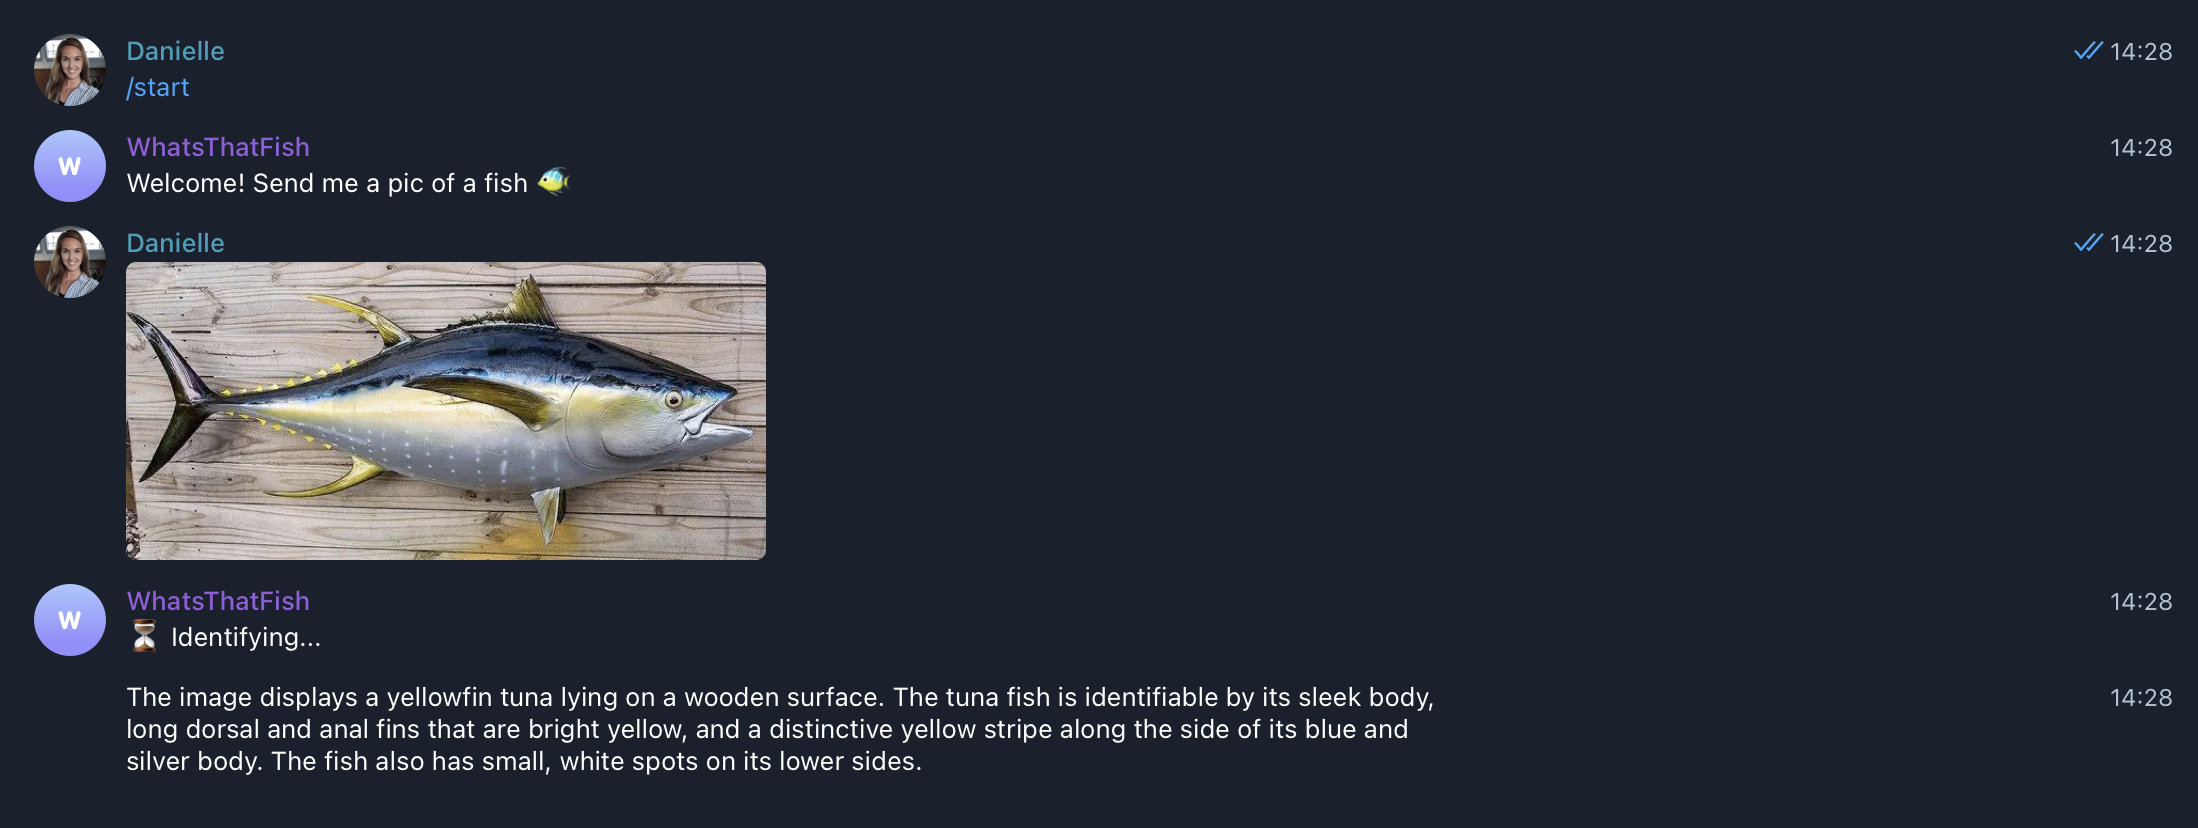
try { // On the /start command send a message to tell the user how to interact with your bot // By default interacting with a new bot will send the /start command if (text === '/start') { return bot.sendMessage(chatId, `Welcome! Send me a pic of a fish 🐠`); } // If the message contains a photo grab the url and send it for identification if (photo) { bot.sendMessage(chatId, '⏳ Identifying...'); // Telegram sends 4 versions of a photo in different sizes // we want the url of the highest quality image which is the last/biggest photo const telegramFileId = photo[photo.length - 1].file_id; const imageUrl = await bot.getFileLink(telegramFileId); const output = await identifyImage({ imageUrl }); return bot.sendMessage(chatId, output.result, { parse_mode: 'Markdown' }); } // If there's no /start command and no photo then this is the default reply return bot.sendMessage(chatId, `Send me a pic of a fish! 🐟`); } catch (err) { console.error(err); return bot.sendMessage(chatId, `I had trouble processing that message: ${err.message}`); }});
/** * Start a basic web server to keep this service alive when we deploy */const { API_PORT, API_HOST } = process.env;const app = new Koa();app.listen(API_PORT, API_HOST);
console.log(`started server on http://${API_HOST}:${API_PORT}`);- For this simple bot example we don’t need to run a server, so you can just run your bot:
node bot.js- Open your Telegram bot (there’s a link to it in BotFather) and start chatting!
Make it better!
You’ll find all the AI prompts in /config/prompts.
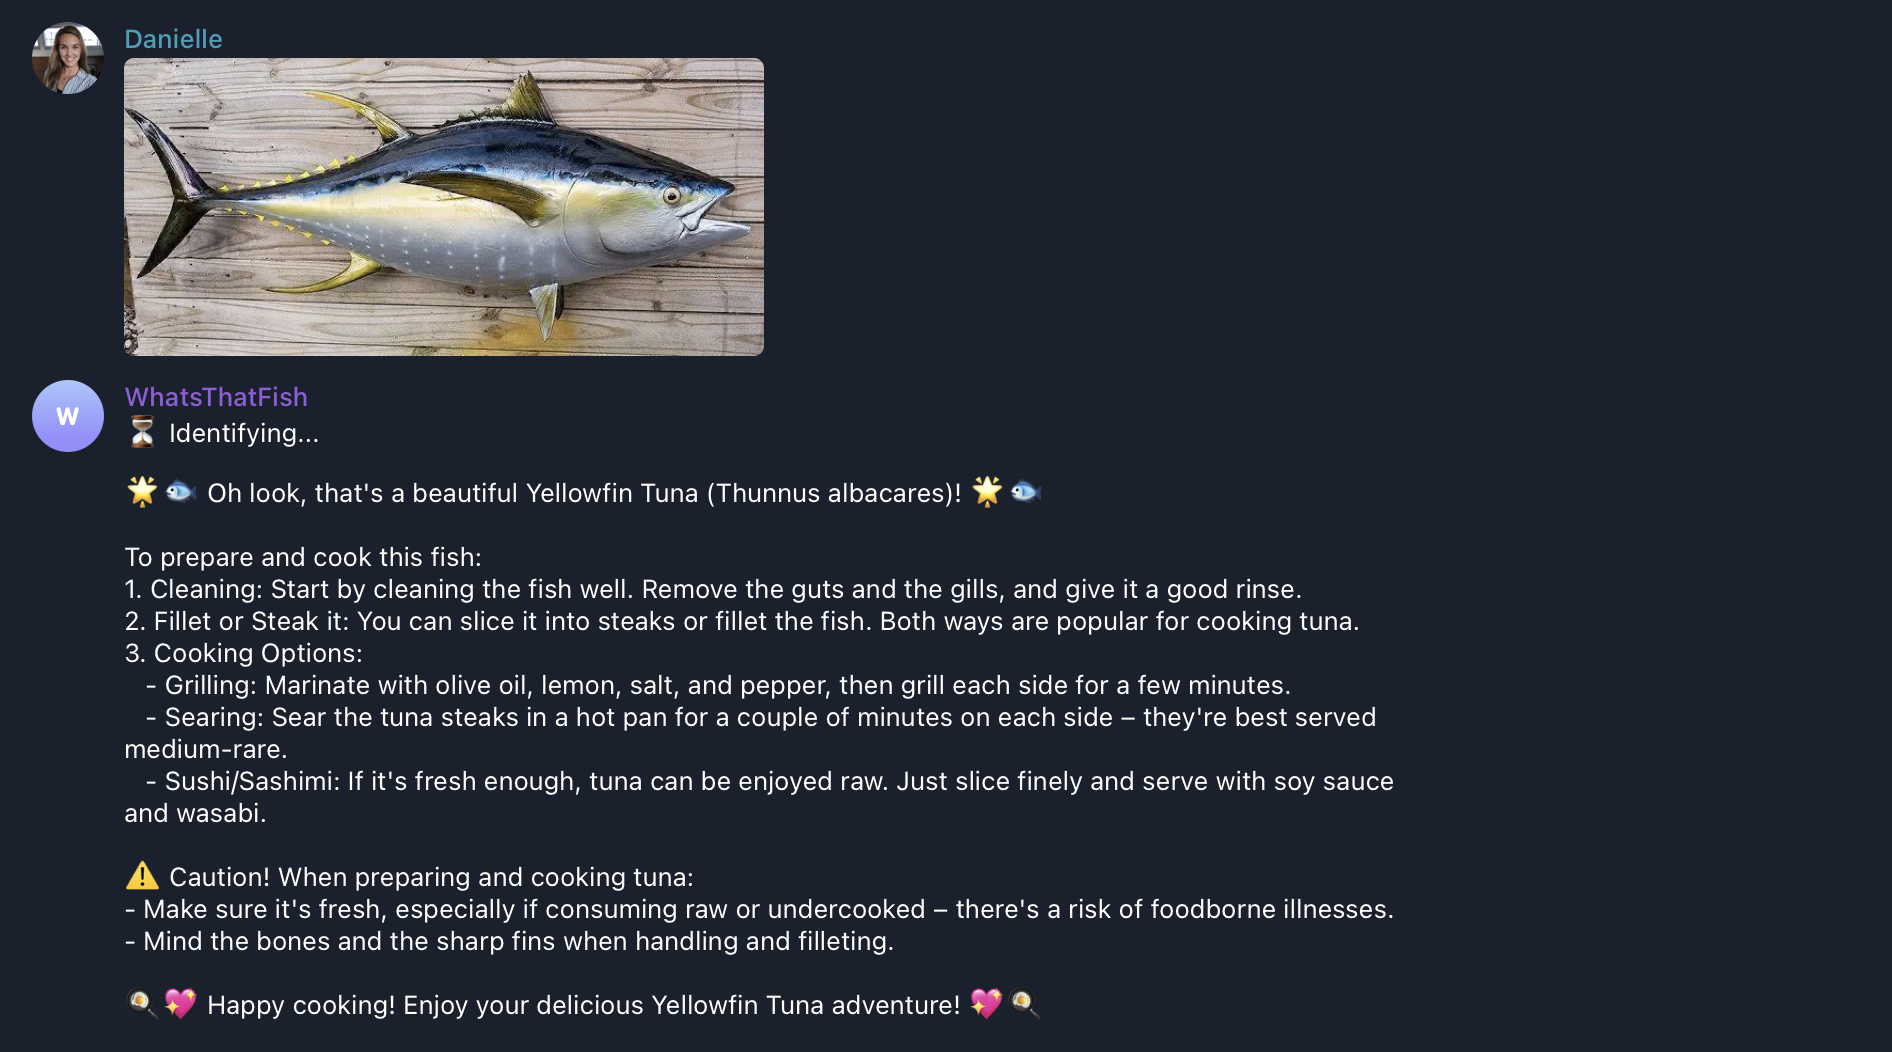
We’re going to make this bot reply like a seafood expert!
Open the vision prompt in /config/prompts/vision.yml and paste the following into the user prompt:
user: | You are a bot that identifies fish and other sea animals from images. The following are things that you should include in your reply: - The species of fish or sea animal - How to prepare and cook the fish or sea animal - If there are any dangers with preparation or cooking then describe them - Use emojis and reply in a fun and light-hearted mannerRun your bot again node bot.js and it should reply with more detail! 🐠
Deploy your Telegram bot
The quickest and easiest way to deploy is to DigitalOcean’s App Platform which will cost $5/month for the single resource we need.
App Platform is a managed hosting environment, that you can deploy with a single click and will auto-scale your app when needed.
So let’s get deploying!
1. Grant access to your repo
First you need to give DigitalOcean access to your GitHub account using this link, this lets them know what repos you can access:
https://github.com/apps/digitalocean/installations/select_target
2. Create DigitalOcean App
Click this button to create a DigitalOcean App with our default options:
DigitalOcean deploy button for the StartKit.AI Growth plan:

DigitalOcean deploy button for the StartKit.AI Starter plan:
1. Resources
After clicking the button you’ll be greeted by this page:
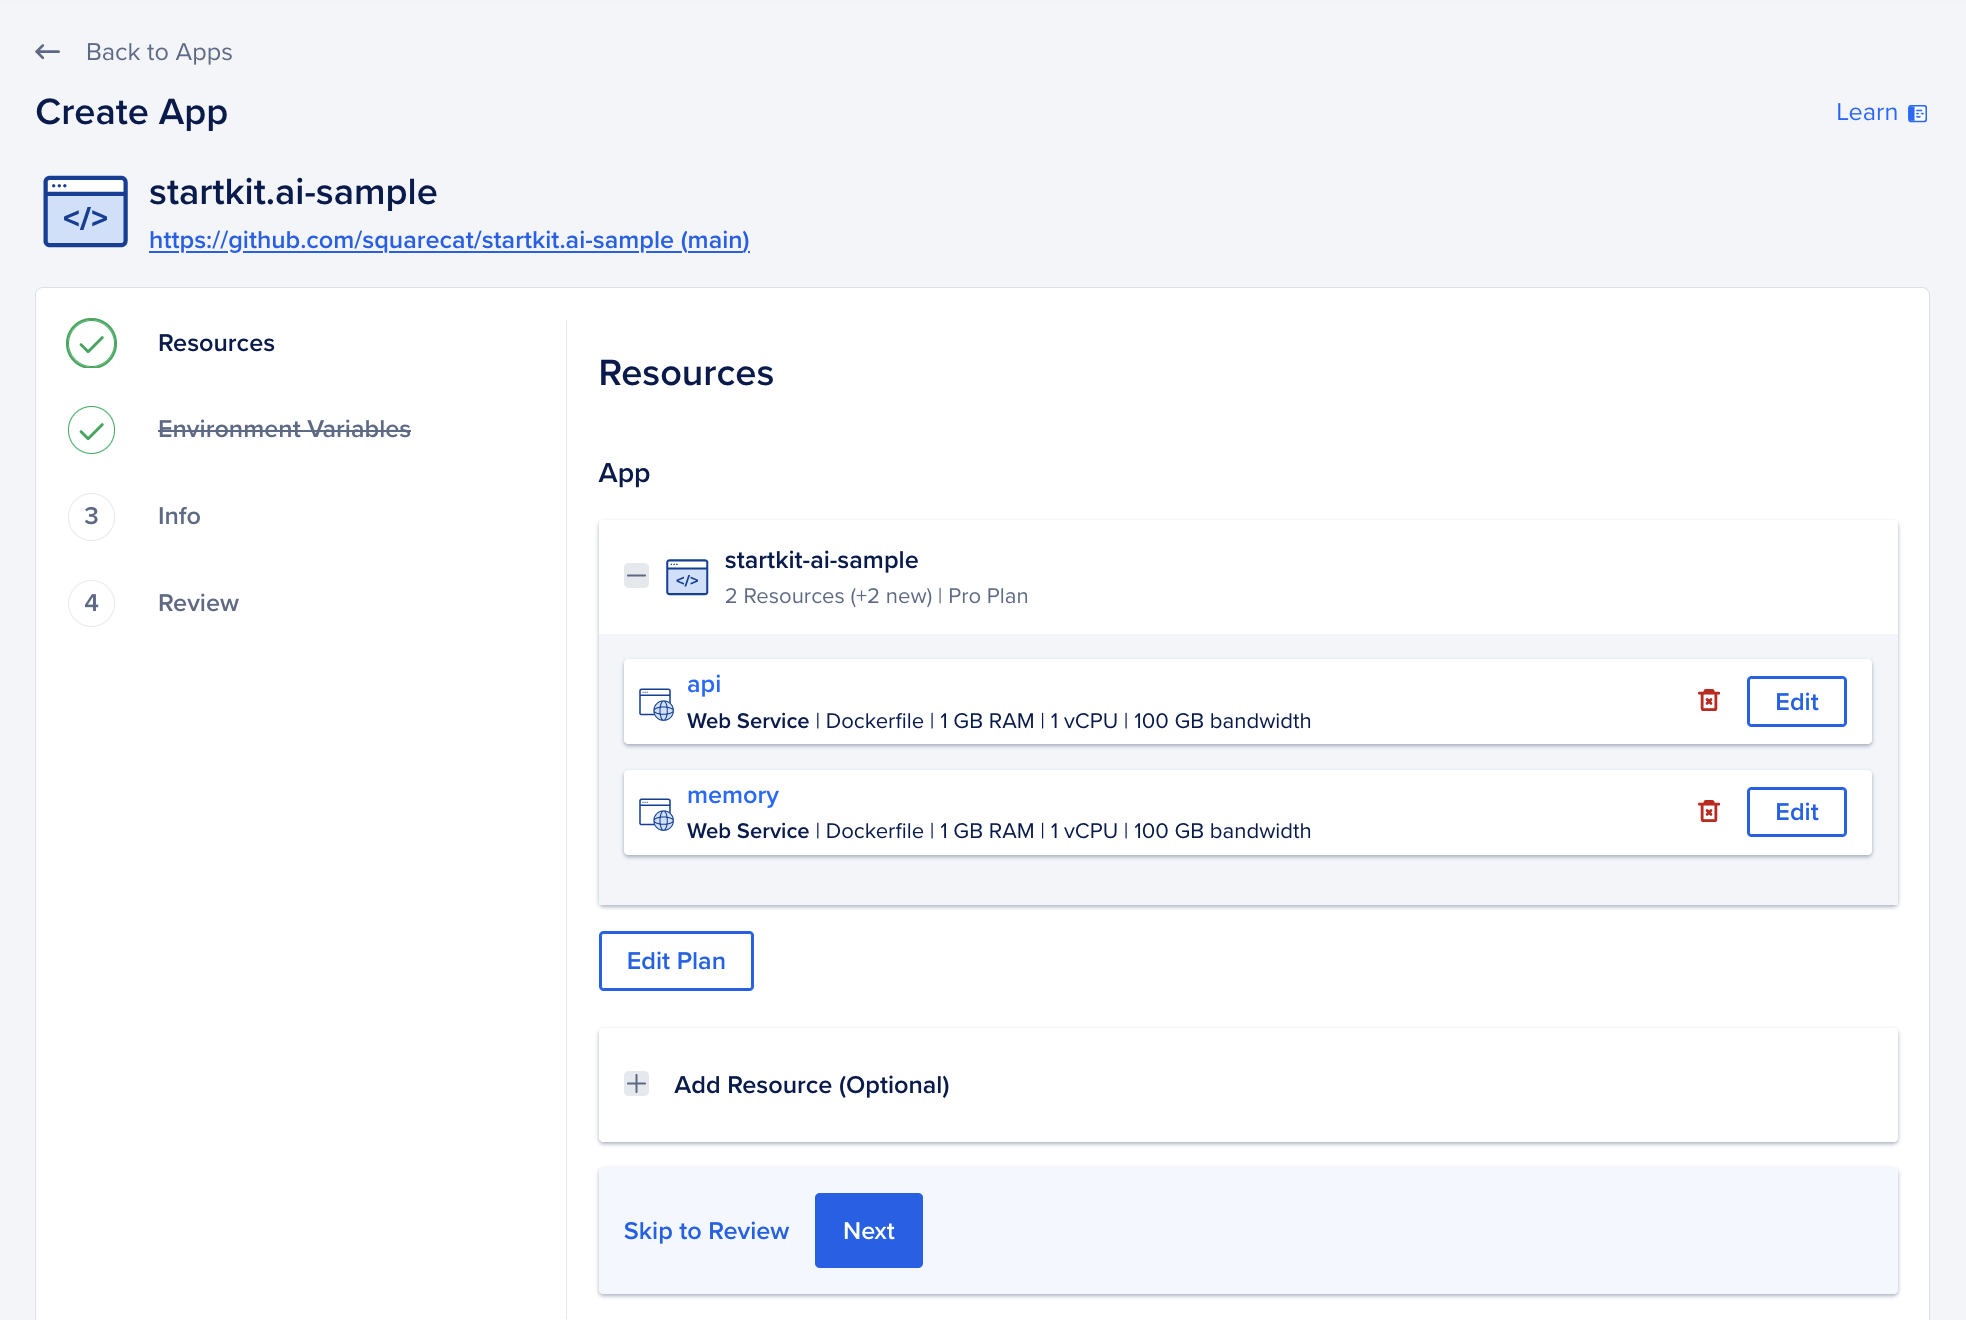
This shows that DigitalOcean will create two resources for you:
- api: The StartKit.AI Node.js server
- memory: The embeddings server with vector db connection to form your AIs memory.
We don’t need the memory resource for this tutorial so make sure you delete it.
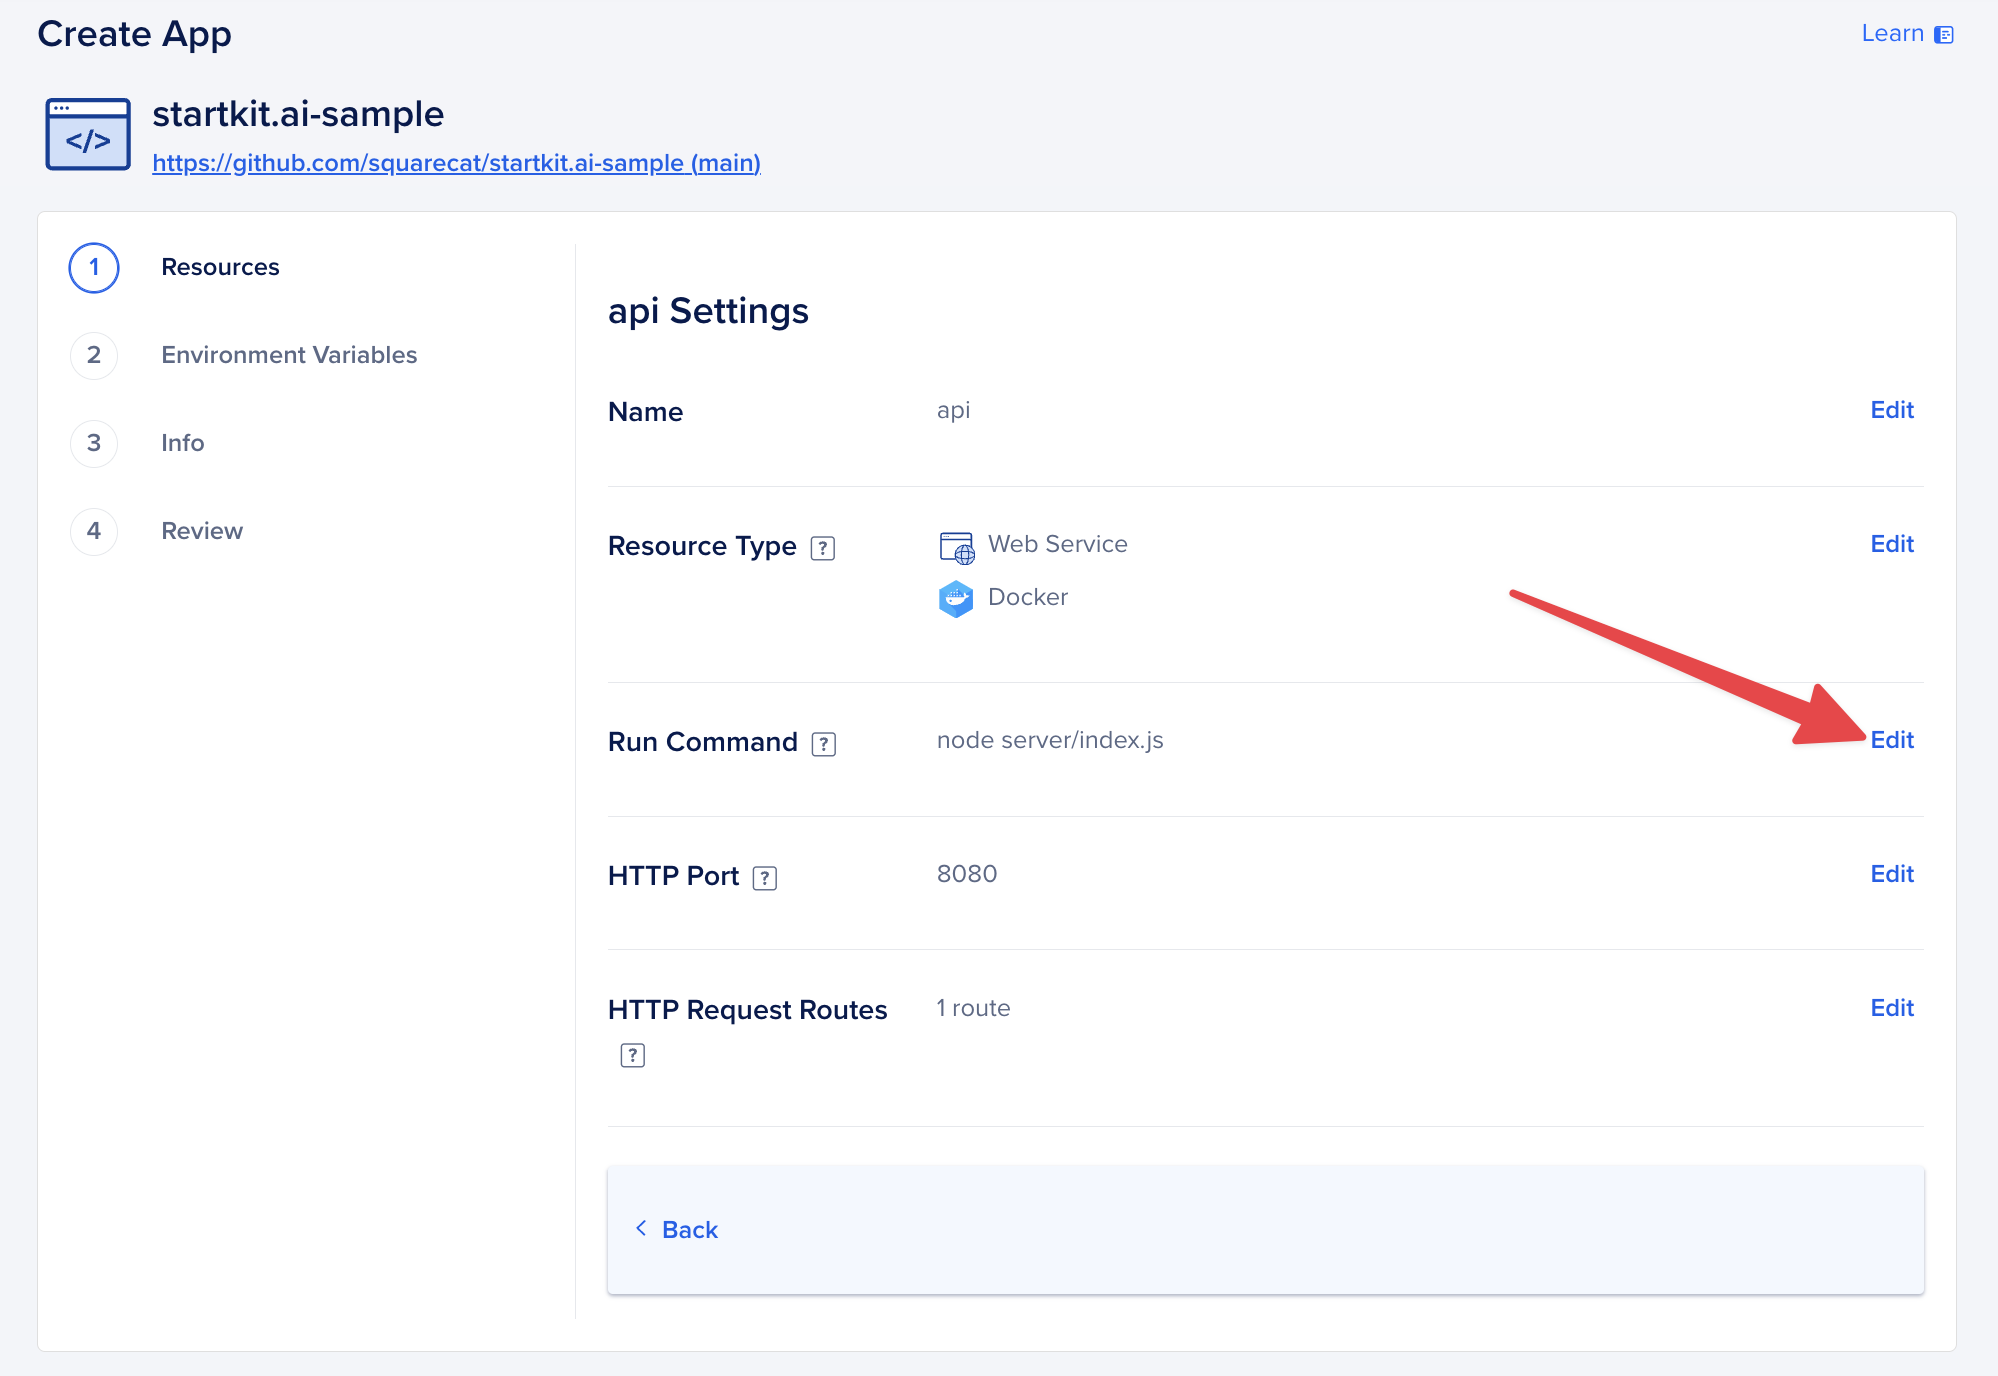
Since we don’t need the whole StartKit.AI server running for this example we need to update the Run Command to our /server/bot.js entry point. Click Edit next to the api resource and then click Edit again next to the Run Command option:
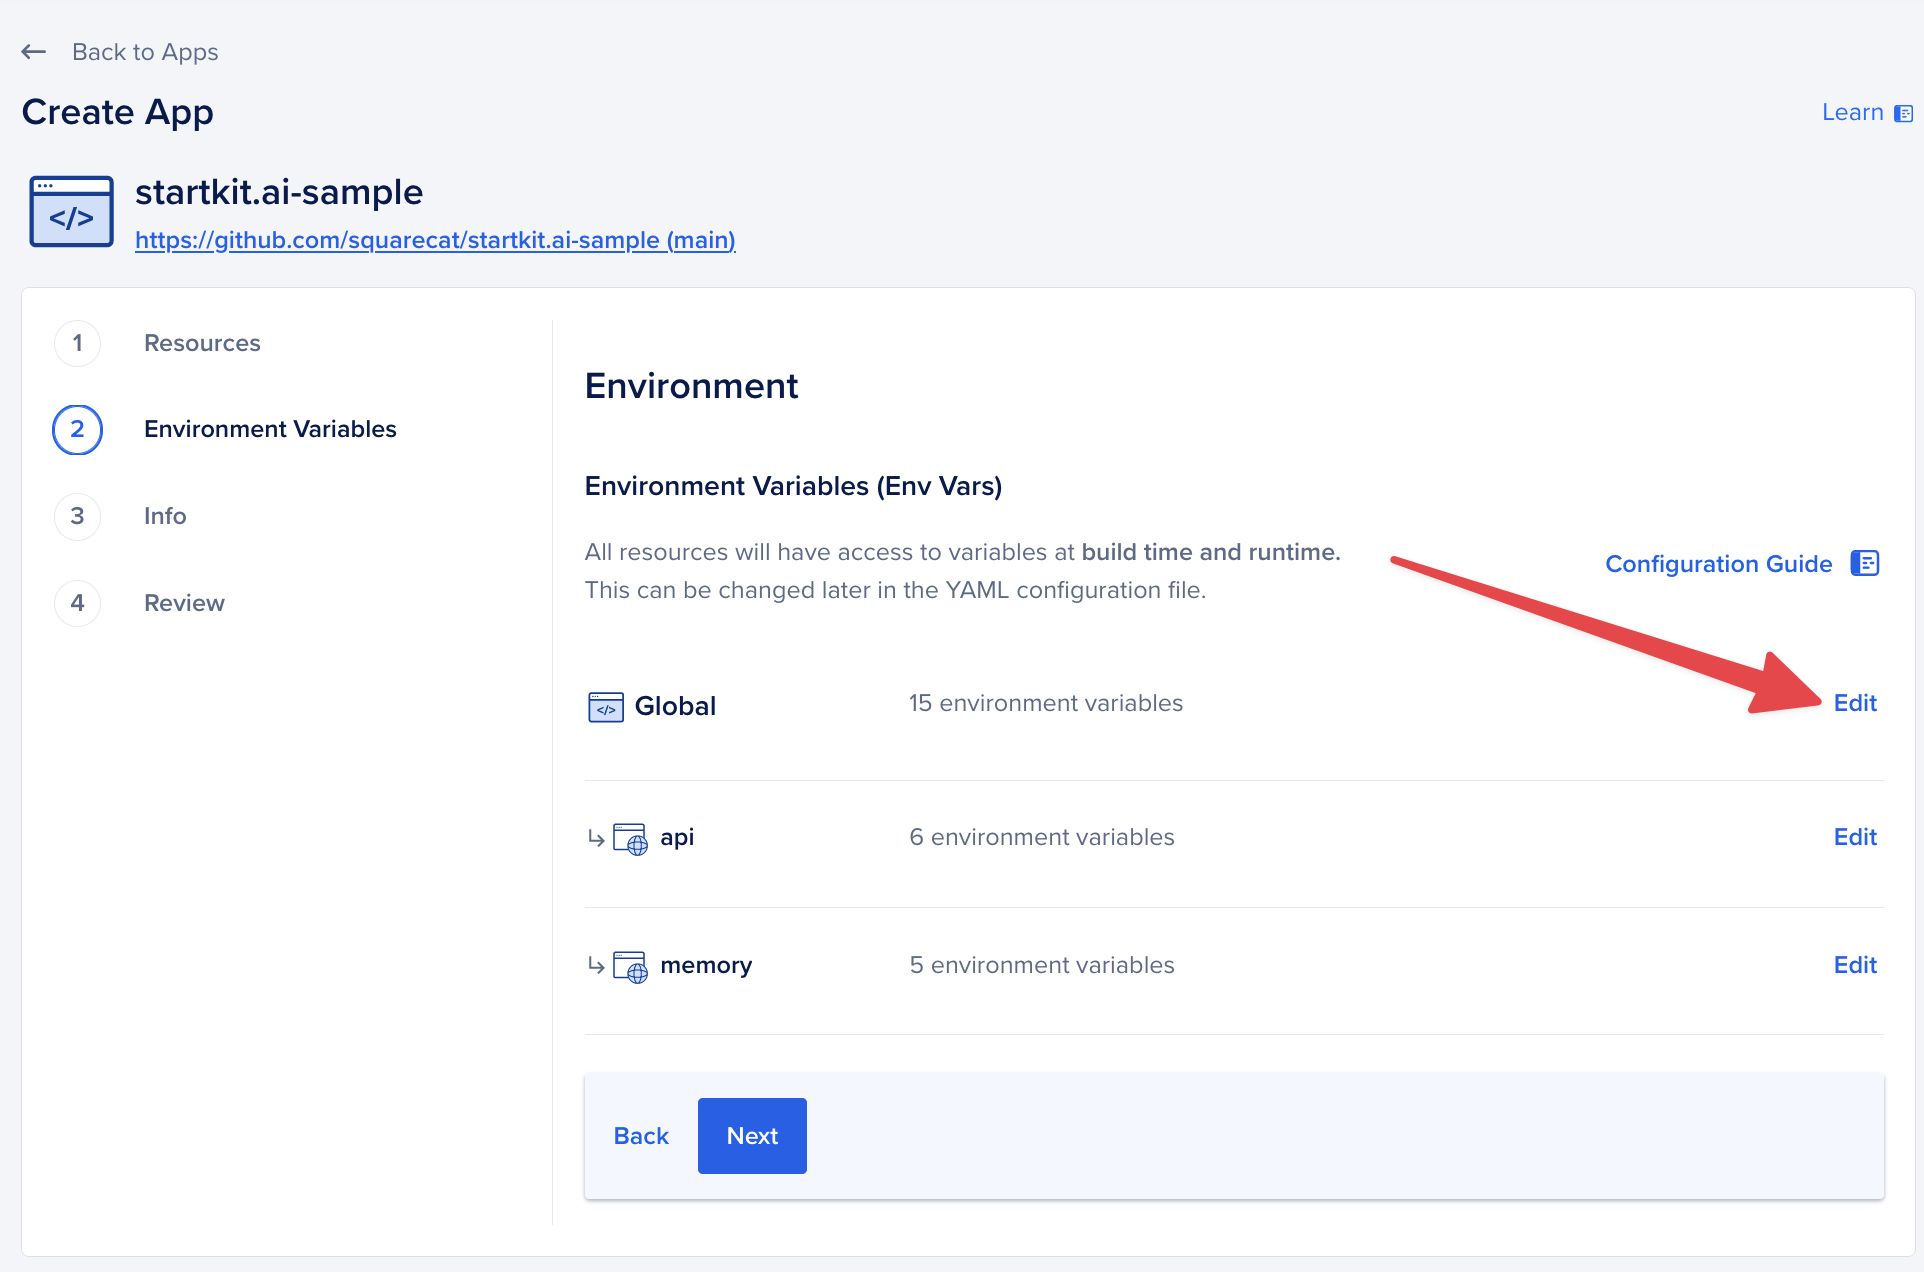
2. Environment variables
The default environment variables will be prefilled for you on the next page, but the ones that you created during setup will need to be added.
Click the “Edit” button next to the Global section and enter your OPENAI_KEY and then create a new entry for TELEGRAM_TOKEN and enter that.
Click save and hit next.
3. Create the app
You don’t need to change any of the other settings, so click through to the end of the process and click “Create Resources”.
After a few minutes your app will finish building but it will fail and that’s ok, please read the next step!!
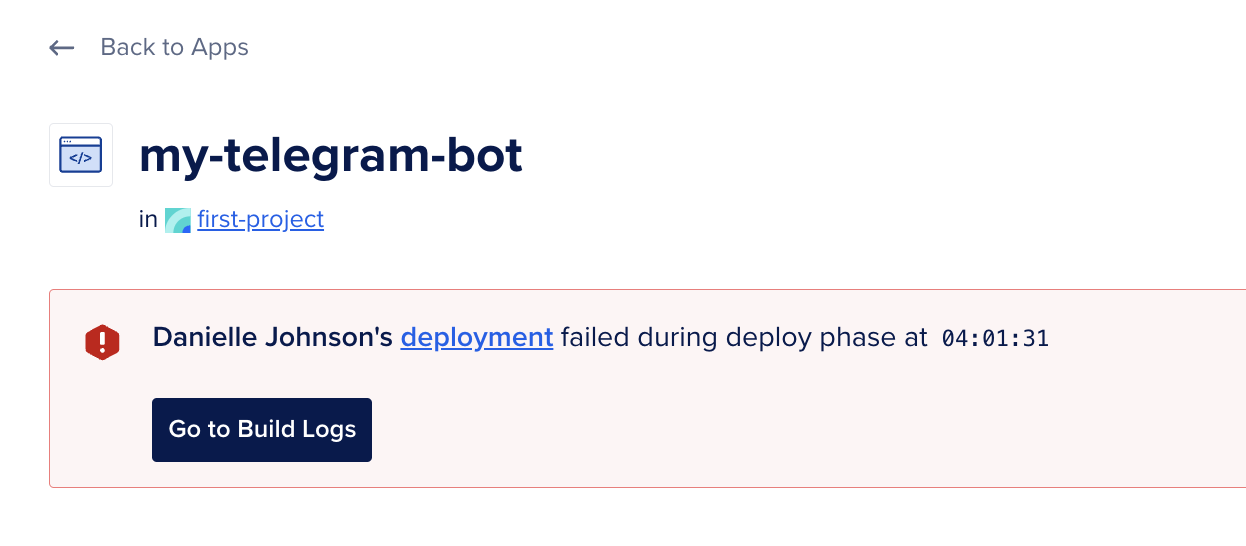
4. Update the repo
What we’ve just deployed is a version of StartKit.AI from a template GitHub repo, we need to update this to your own repo.
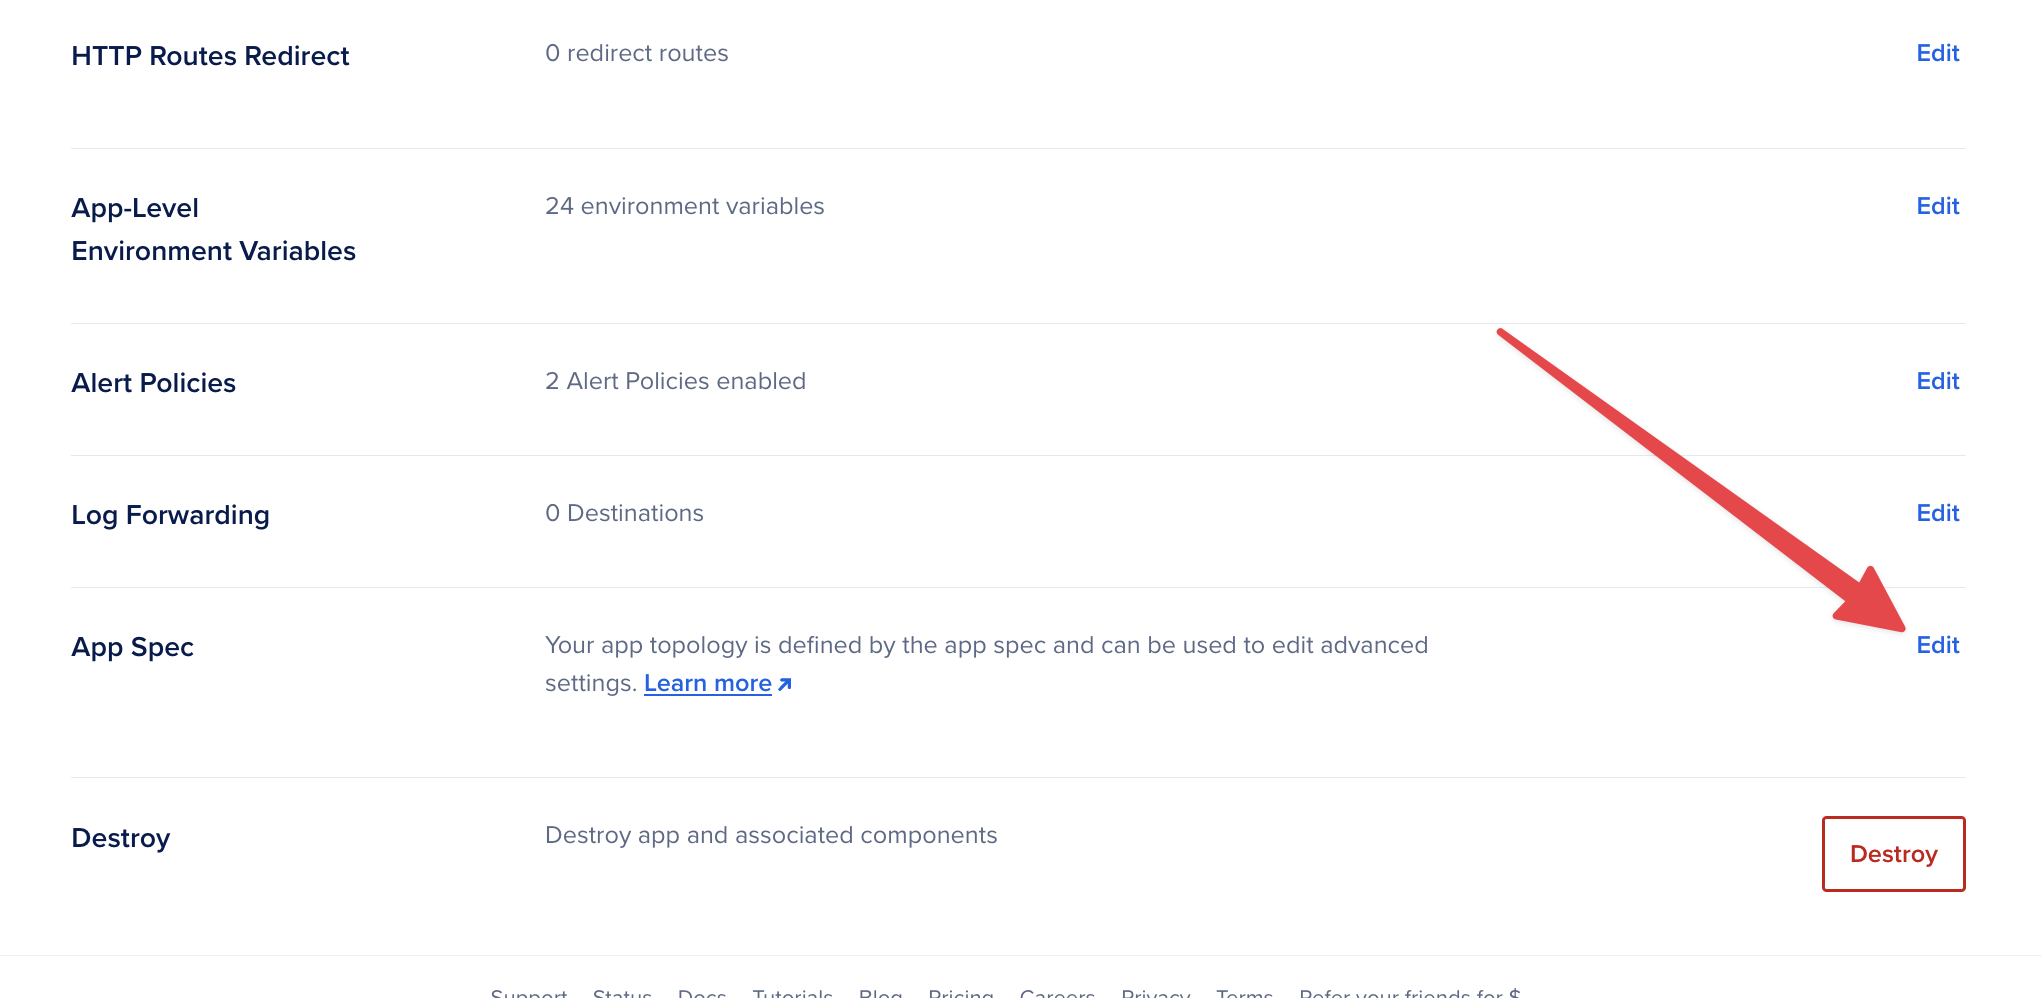
Go to the App Settings page and click “Edit” on the App Spec setting:
Find the github section, and change startkit-ai/startkit.ai value to the name of your repo.
For example if your project on GitHub is https://github.com/Jivings/my-ai-project, then you’d change the value to Jivings/my-ai-project.
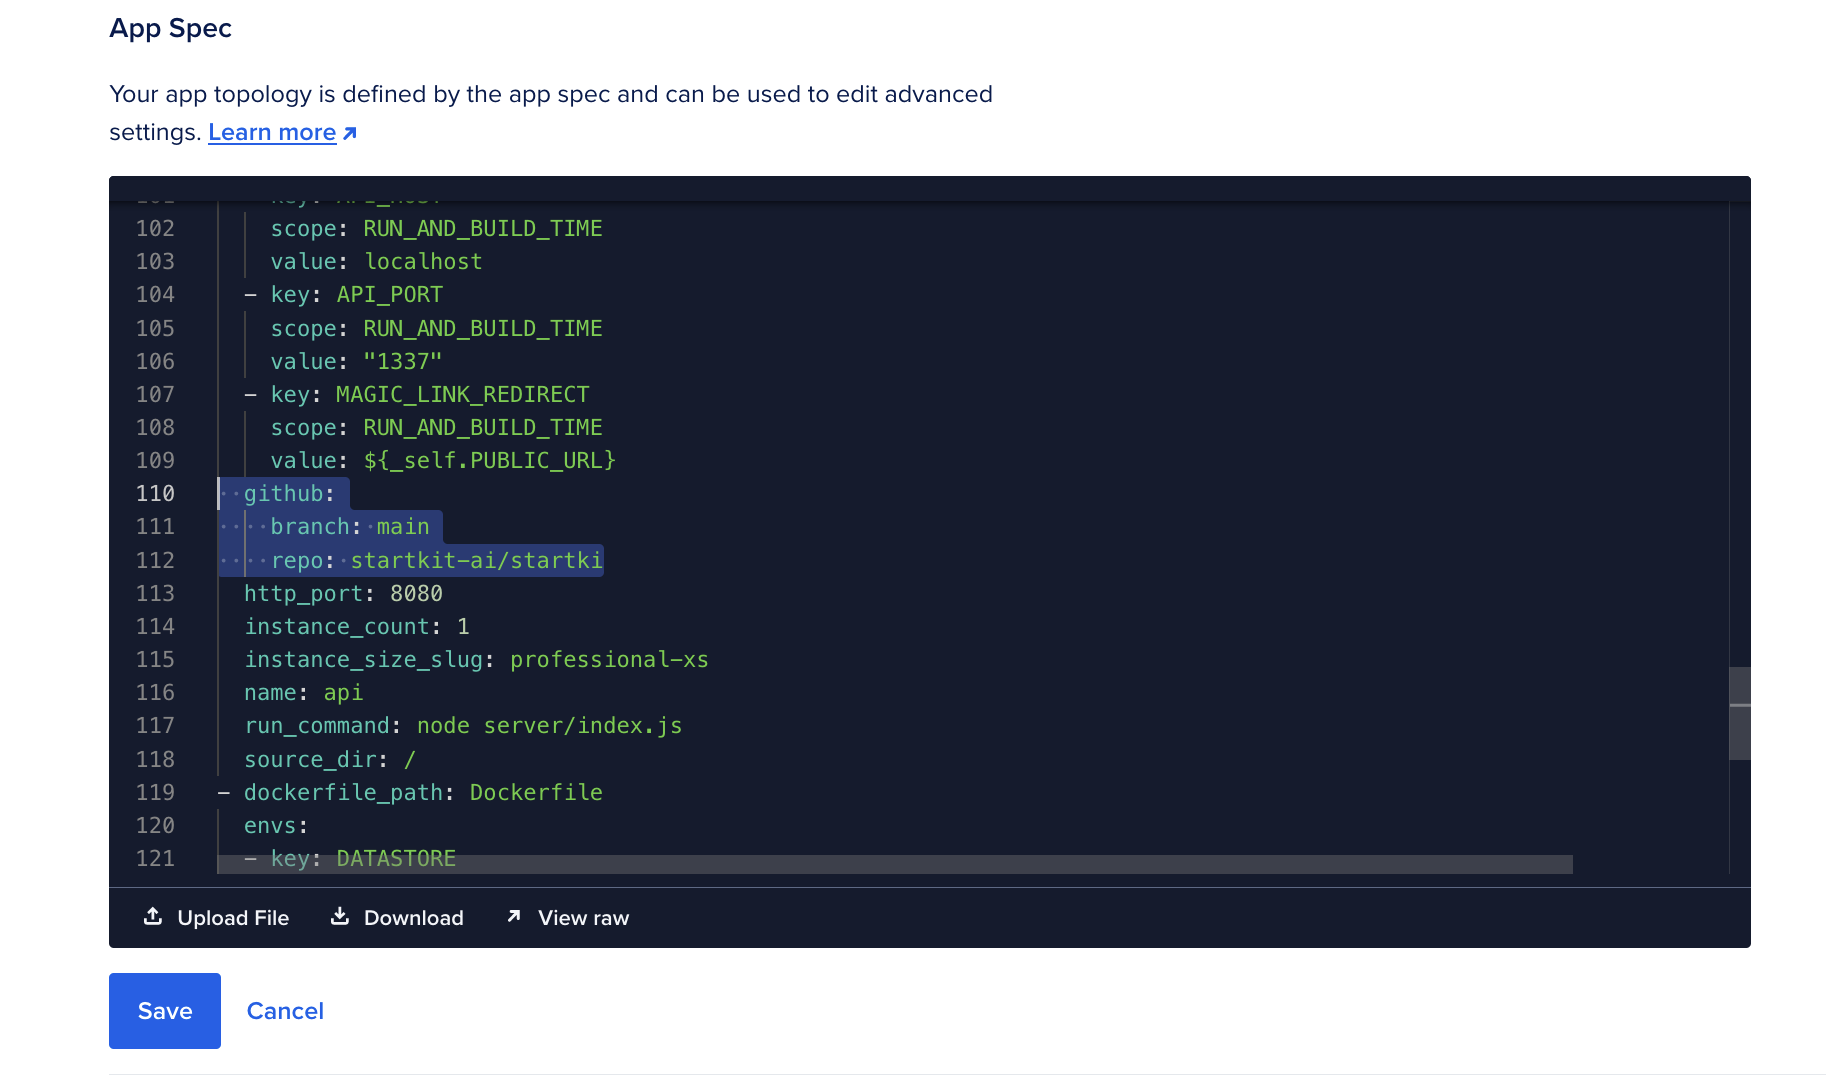
Hit save and your app will re-deploy with your code instead of ours!
Now your Telegram bot should be running! 🚀
Next steps…
Now you can add more commands, customise responses based on messages, and integrate external APIs. We recommend checking out the Telegram’s Bot API documentation for more in-depth Telegram bot building help.
Enable back-and-forth chat with the bot
So far your bot uses the Images API to identify an image.
If you want to have a conversation about the fish or correct mistakes in the identification by replying to the bot you can switch to using the Chat API. A good place to start would be to change out the identifyImage() function for generateChatReply() and customise the chat prompt in /config/prompts/chat.yml.
Have fun!